Classroom Website Tutorial: Easy for the Beginning Beginner
If you don’t already have a classroom website, it’s TIME to create one! I wrote a SUPER EASY tutorial to help you learn the basics to start your site and then you can add more fancy things as you get comfortable. Here are the 4 EASY steps.
Don’t worry if you don’t know all the vocab in these steps, I’ll walk you through it.
- Create a Classroom Website with Google Slides
- Add hyperlinks
- Publish to the Web
- Create a Bitly Link to make it easier for students to find the site

Create a Classroom Website with Google Slides
I created a FREE classroom website that you can use if you want to get started QUICKLY. Click here to open a Google Slides presentation. It will prompt you to sign in and copy the presentation. If you don’t have a google account yet, quickly make one….everyone needs a google account at some point. If you want more color options, click here and buy a format with 6 colors schemes and 2 design options.

Add Hyperlinks
Hyperlinks are the magic that makes a classroom website worth the work. You can link any website (or document) so the students can jump to different sites without you repeating the website name a MILLION times.
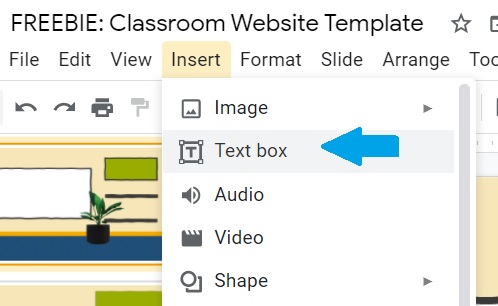
You’ll start by inserting a text box anywhere on the presentation. Type something helpful in the box (CLICK HERE).
Perhaps you want to send the students to the helpful site, “Bible Gateway” to search for bible verses about goals. Select the text that you just typed and click Insert, Link. That will open a Link box so you can type or paste the link (https://www.biblegateway.com/). When I paste links…I select the entire sentence. It’s easier for students to figure out where to click if the link if it’s HUGE.
After you apply the hyperlink….click to check that it works. A broken link is a quick (and terrible) way to derail a lesson before it begins. However, the benefit of using Google Slides is that you can FIX a mistake in an instant, and students can reload the page and find the corrected link right away.

Publish Your Classroom Website to the Web

After you’d added your text and links, in order to make your Slides a website, you click “File”, “Publish to the web.” This will open a box with some options…just click “Publish” and “Ok” when it asks if you’re SURE. There will be a link that will show up. Copy that link….that’s now your very own website! Congratulations, you’re on the web! There is one more step to get the website in front of your students.
Create a Bitly Link
Have you ever been told to visit a website that looks like this? https://docs.google.com/presentation/d/e/2PACX-1vTTqWK0Nuwb9faJxOhjqqIG72RBfxY2Y-LCHFyACF2DNQgHV0qCH9A15rerlgwR2sMlWNevkAnlHuKf/pub?start=false&loop=false&delayms=3000. There is NO chance that a student will type all of that in to find your website…so the easiest thing to do is link your website to the school’s site.
However, if that’s not possible (or involves complicated hoops), create a Bitly link that shortens the URL so students CAN type in the website. Go to bitly.com and create an account….again, it’s quick, easy, and FREE.
You can customize the back half of the bit.ly link. Don’t just leave it with those random letters and numbers that it gets you. Include your last name, and maybe a number or two if someone else has already used that link. You want something short and easy to remember.
This will be the ONLY link you’ll need your students to remember and type into their device, so you want it to be as easy as possible, or even better, you include a short prayer such as “prayforourclass” or “JESUSITRUSTINYOU.” The links ARE case sensitive so it will be easier if everything is upper or lower case.

Now the Fun Part!
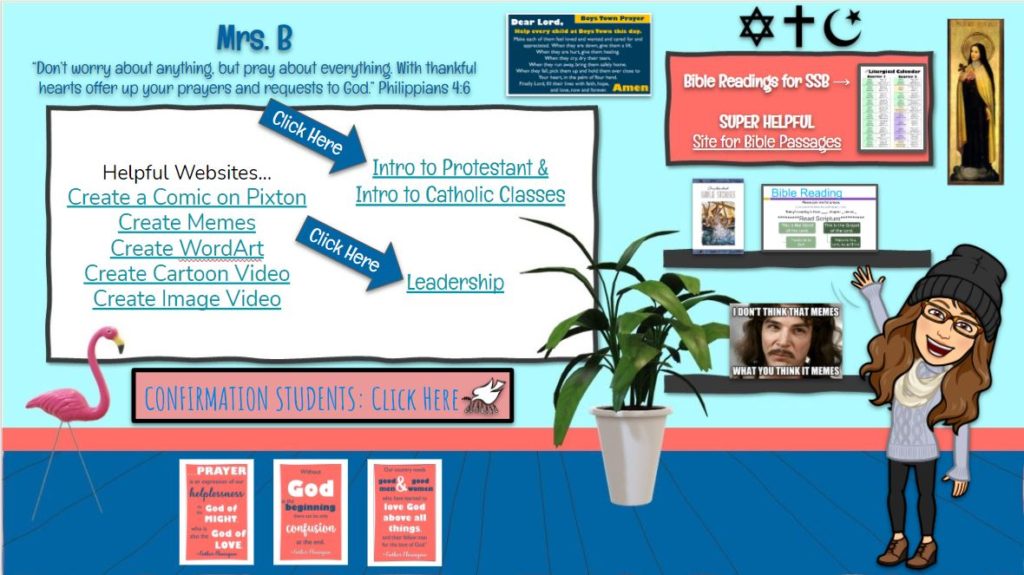
You’re done the hard work so you now have a functioning website! Now you can make it FUN. Anything you do to the Google Slide will be automatically changed on your website. So, you can easily change the website every day, or include a ton of resources that students will return to over and over.
My website has both. There are links to separate class websites (each class has it’s own Google Slide site that I hyperlink to the original site). There are also links to the class textbooks, a class meme page, and the weekly bible readings.
Decorations: Cute Stuff
You can make the website as cute or plain as you’d like. Just remember that students will NOT want to search for things, so keep everything straightforward, with the most important links highlighted so students can find them. You’ll also want simple fonts that are easy for all students to read…the lack of cursive knowledge is a real thing.
You can look online for cute images and clip art to add to your site. You’ll want a PNG image (with a grey/white checked background…which actually means that it doesn’t have a background). If you find an image you like, but it has a background, upload it to https://www.remove.bg/ to easily get rid of the background so your website looks more polished.
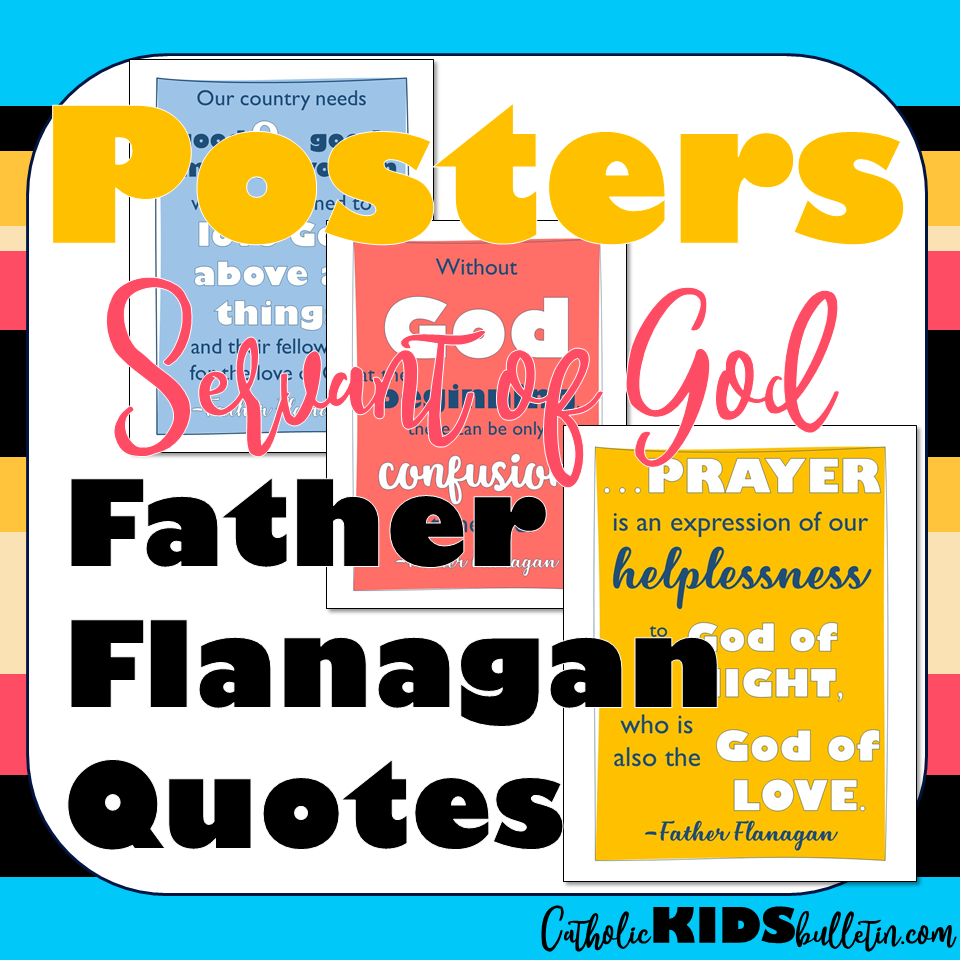
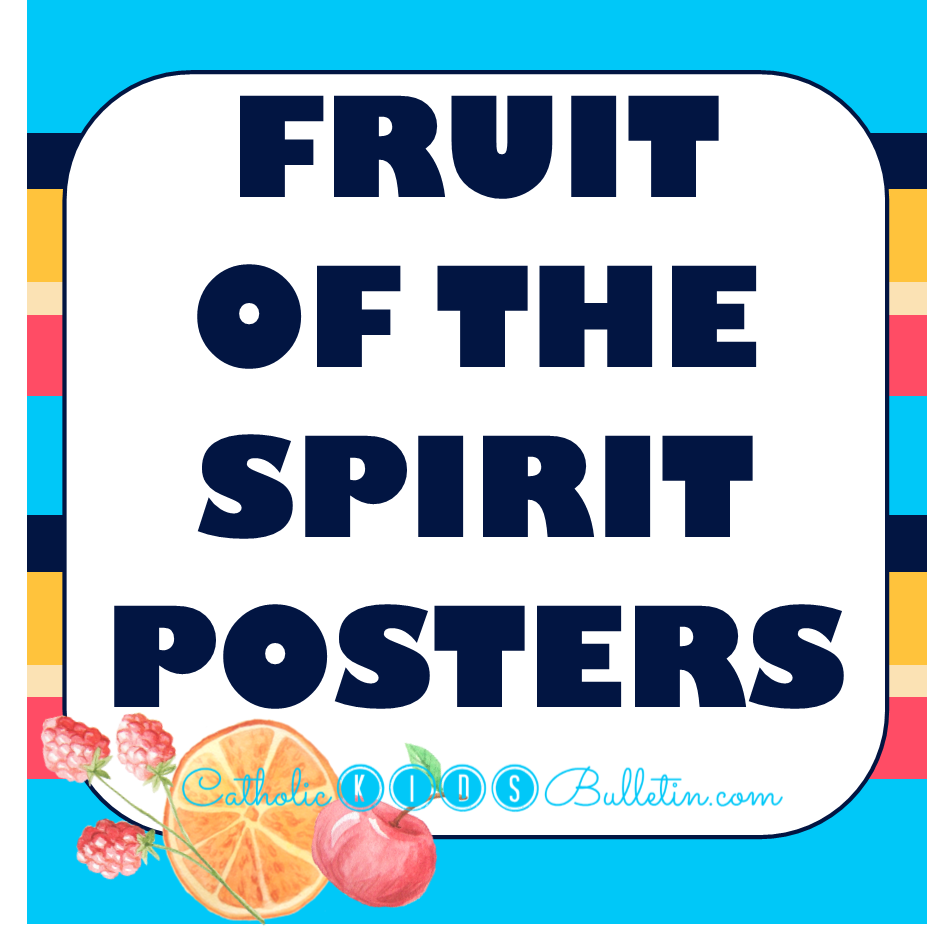
There are a also some great posters in my TPT shop that can be used as inspirational artwork on your site. I just created and uploaded some inspirational prayer quotes from Father Flanagan. I also have some beautiful posters about the Fruit of the Spirit that would be great for Confirmation Prep.
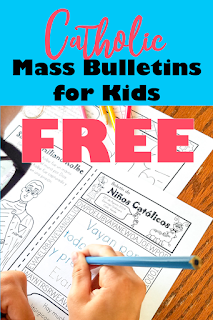
February Catholic Kids Bulletin
If you’re not already an email subscriber to Catholic Kids Bulletins…enter your email on the left. Then, you’ll be the first to know when new bulletins for ready.
The FREE Printable Catholic Kids Bulletin worksheets match up to the weekly Mass readings in the Catholic Church. There are coloring pages that match the weekly Gospel reading. There are Mass activities throughout the month, as well as Psalm copy work and a word search. In addition, the order of the liturgy of the Mass along the top of each bulletin also helps kids follow along during Mass. Next, they can learn the order and structure of the Mass. Finally, a coloring page about a Catholic Saint teaches about Catholic History and saints. For example, these are terrific to teach at Mass, in addition to a pre-teaching activity to help prepare your students for the Sunday Mass.
Have you used Catholic Kids Bulletins before? If you have questions, check here…

**Catholic Kids Bulletin participates in the Amazon Services LLC Associates Program, an affiliate advertising program that is designed to provide a means for sites to earn advertising fees (however, it is at no cost to you) by advertising and linking to Amazon.**
February Catholic Kids Bulletins Include…
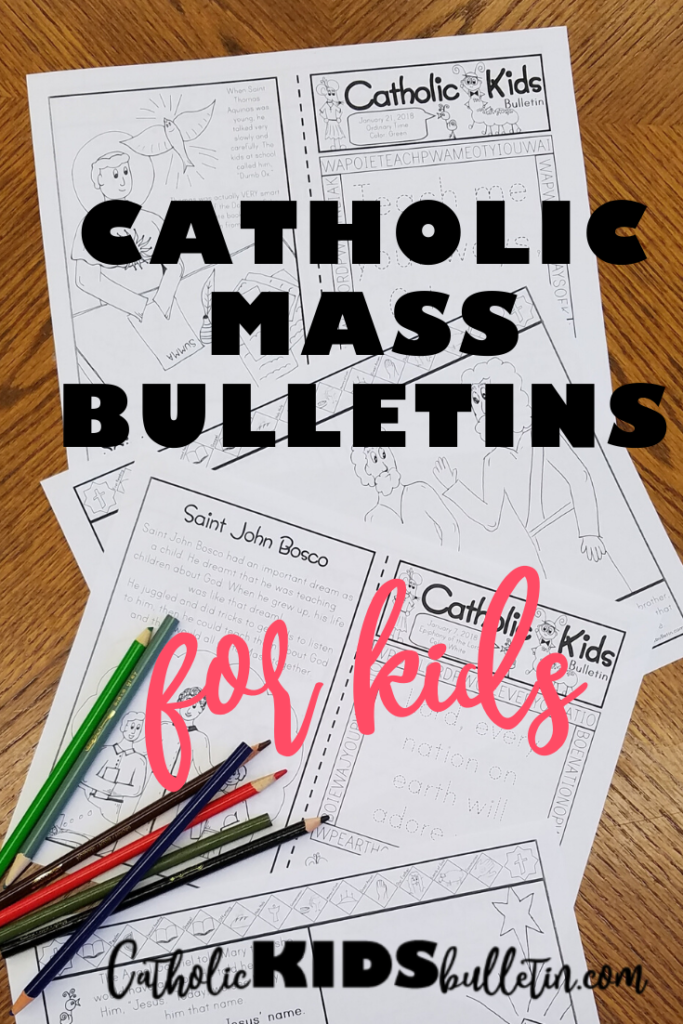
February Bulletins include…
- Ordinary Time
- Ash Wednesday
- Lent
- Saint Bernadette of Lourdes
- Saint Valentine
- Feast of the Presentation of the Lord
- Saint Francisco and Jacinta Marta
These FREE Catholic Mass Bulletin Printables are offered each month in order to help young Catholics learn at Mass. For example, you are welcome to print and share with others. If you can afford it, click Support CKB on the left and then donate to help pay for the time and effort put into these pages. Thanks!